Translate

Monday 22 October 2018

Fantasy purple card Pile It On DT card

HI DEAR CRAFTERS
Here is my card for our BONUS October challenge :

Pile It On! #147 - Black, Purple & Orange and/or Fantasy


This card uses Penny Black 30-063 Mimi & Miles .I colored the image using Sectrum Noir markers. the background was created using die cuts & layering & matting.I added a tiny cute shaker element too. I finished it off with etched metal cute sentence ^_^

 I am entering these challenges:

As You Like It Challenge: Clean & Simple OR Fussy & Fancy
A Gem of a Challenge #228: Anything Goes
Crafty Sentiments challenge: Halloween


Monday 15 October 2018

CRAFTS DREAMY OCTOBER DT CARD: VINTAGE CARD.

Here is my October DT project for Crafts Dreamy. There is a monthly challenge at their blog 

http://craftsdreamy.blogspot.com.eg/ where you will find all the details & a new mood board 


each month for inspiration.


The theme is anything goes; you can make a card, tag, ATC, scrapbook layout, pocket letter 
mixed  media, collage piece etc the possibilities are endless! 
This Month's Mood Board features this BEAUTIFUL Autumn colors.


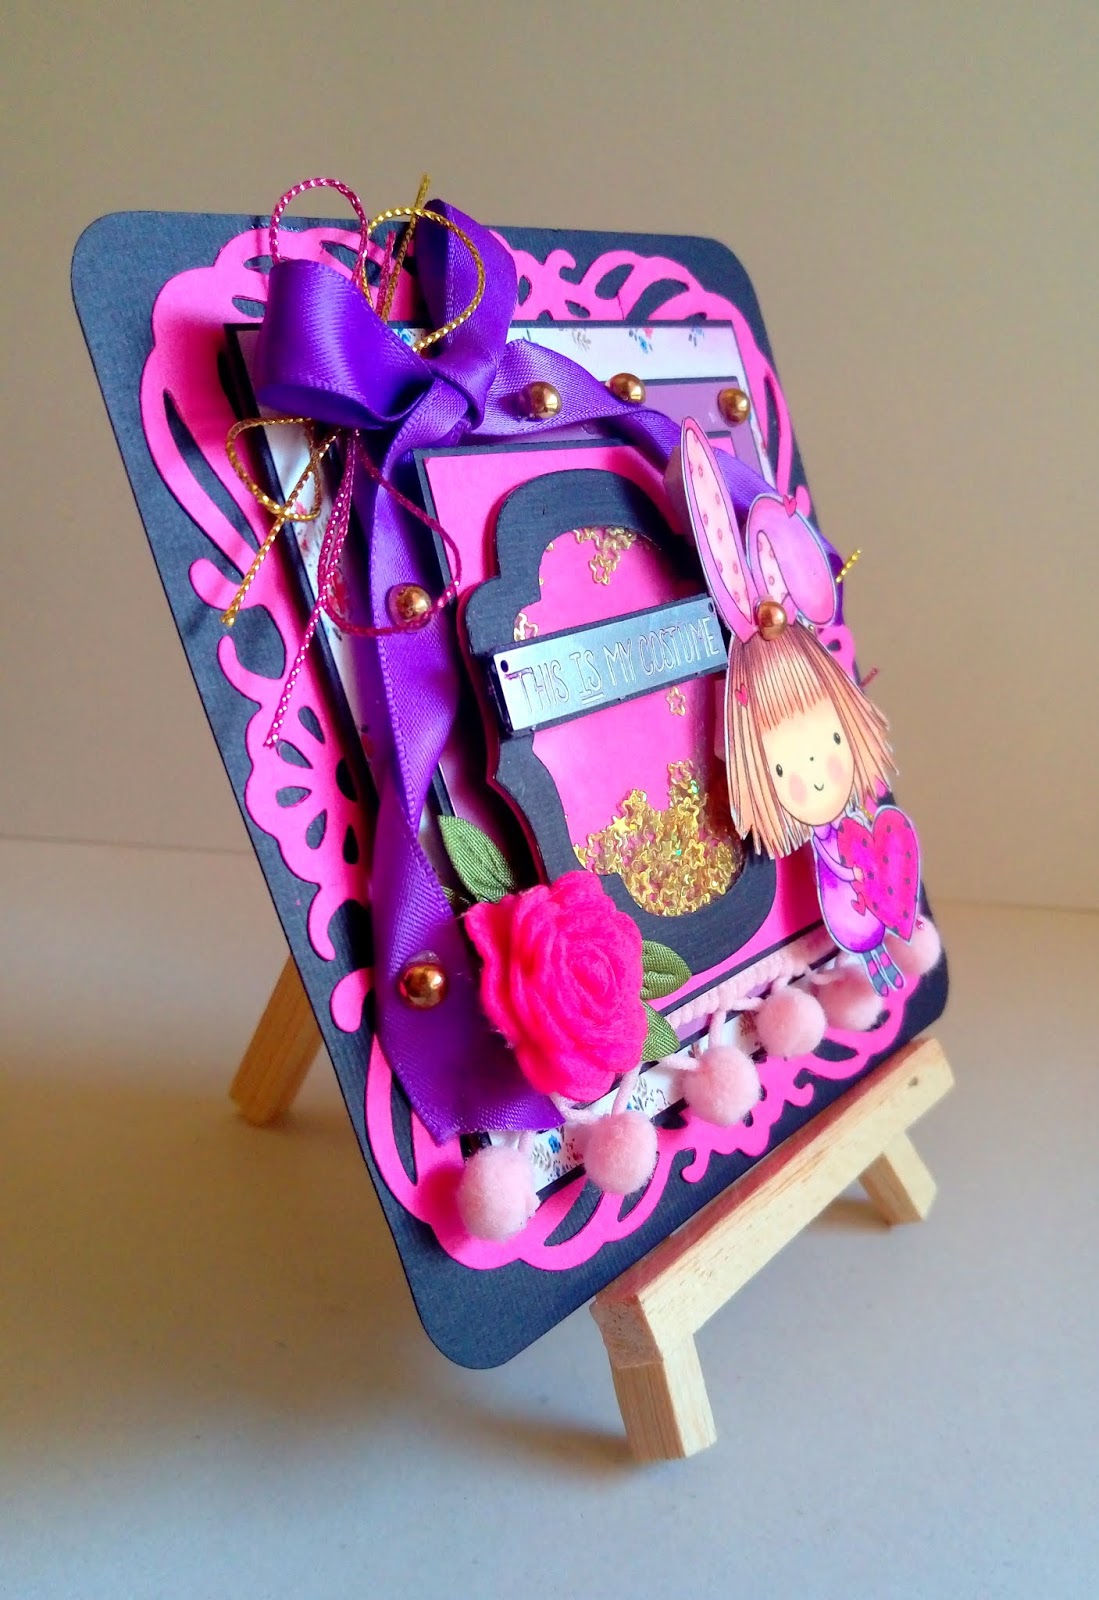
Today i'll  share with you a tutorial on how to make this vintage card. 
Fabric designs and colors have been a huge inspiration to me lately. For this card I wanted to mimic a piece of embossed vintage velvet fabric that I had seen. How fun to translate designs into 
something real for me as a paper crafter. 

Step one:

Paint a piece of recycled card stock with a thin layer of Gesso and talc powder. Try and paint in two directions to create texture.

Step two:


Use three colours of distress oxide and black acrylic paint and paint over the 'gessoed' piece. Notice how the gesso texture really comes alive when you add colour to it. I started with touches of black paint first, then added distress oxides in selected areas.


Step three:

Leave the ink to dry and then emboss a pattern onto the card stock piece using an embossing folder and your machine. The pattern doesn't look like much until the next step. 

Step four:

Use your black ink pad and lightly swipe the ink pad across the embossed area. The ink highlights the embossed area beautifully. While the ink is still wet, apply clear embossing powder and heat set the powder. The heat embossing leaves the embossed paper
 with a gorgeous shine. 

Step five:


Use metallic pigment ink and apply with a jumbo dauber to add some more interest and character to it. The ink sticks to some areas where the embossing didn't take and adds a beautiful shimmer on top of the heat embossing. 

Step six:

Finally, trim the panel and create a beautiful card that looks rich and luxurious just like a piece of fabric. Combining your products together leaves room for creating magic in layers.


Hope you enjoyed this tutorial!
thanks for stopping by
Hugs, Zahraa 


I'm playing along in a few challenges  too :-


Starry Night


Sunday 14 October 2018

Travel addict handmade scrapbook ^_^

Hi all dear fellow crafters

I have a travel mini album to share,I received a request 

to make one, I thought it would be a sweet gift and made

it large enough to add 70 photos in its 10 pages. Here it is…


i have used kaisercraft just landed paper collection :D 


Thanks so much for stopping by and for all of the
comments you leave!

Zahraa :)

Challenges I would like to enter:

Anything But A Card  


Sunday 7 October 2018

Black, Purple & Orange Pile It On Design Team Card

Hey Everyone! 
I have a great announcement today! I'm now part of the wonderful design team over PILE IT ON CHALLENGE BLOG, & Here is my card for our October challenge :

Pile It On! #147 - Black, Purple & Orange


i have created a side step card to showcase the hand colored digi with Spectrum Noir markers

SUPPLIES LIST:
STAMPS:

DIES

My Favorite Things Die-Namics FRESH CUT GRASS
Rainbow Die-namics
star punch
INK:
Distress ink-mowed lawn

PAPER/CARD
Heavy weight paper (local store)200GSM

                   ONCE UPON A HALLOWEEN WEBSTER'S PAGES PAPER.

accetate sheet
PAINT
Spectrun Noir Markers

ACCESSORIES & TOOLS
Unbranded letters stamp set
Ranger's Archival ink pad
Tacky Glue  from my stash

Thanks so much for stopping by and hope that I have inspired you to come on over and join us for this month's challenge.


I will be entering this piece into the following challenges:-

Creative with Stamps: Halloween or Leaves
Unicorn Challenge: Autumn or Halloween
Fab N Funky: Orange/Black/Green
ikes world challenge blog  #113 ANYTHING GOES/Oct-POE-ber

Challenge #53 - Autumn/Halloween


Wednesday 3 October 2018

Spook It Up DESIGN TEAM CARD for the crafty addicts challenge blog

Hi there, I'm here to share with you another little bit of inspiration, we have a new challenge that has just gone live over at the craftyaddicts challenge blog.

Our theme this month is Spook it up ^_^

here is what I created, hope you like it?!
Wouldn't a mummy costume be just adorable for Halloween ? ^_^


taking 15*11 cm card & i have created layered background using layers & mats of pattern paper & card stock, flowers, doily cut, bling, word stickers.& FINISHING OFF WITH hand colored digi ( Darling Mummy Cuddlebug Cuties) as a focus point after coloring it with Spectum Noir markers & creating lovely image background too .

SUPPLIES LIST:
STAMPS:
Darling Mummy Cuddlebug Cuties

DIES
661498 Sizzix Thinlits Die Doily #2 - By Tim Holtz

PAPER/CARD
Heavy weight paper (local store)200GSM
pattern paper from  

                ONCE UPON A HALLOWEEN WEBSTER'S PAGES PAPER.


ACCESSORIES & TOOLS
paper stickers
Tacky Glue
Spectrum Noir Markers
Ranger's glossy accents
PAPER FLOWERS, BLING  from my stash


Thanks so much for stopping by and hope that I have inspired you to come on over and join us for this month's challenge.

Crafty Hugs
Zahraa (DT)

xxx